The Technology Blog
How to Build a Custom Gaming PC
Building a custom gaming PC is a powerful way to create a high-performance, personalised machine tailored to your gaming needs. Whether you’re aiming for high frame rates, immersive visuals, or seamless multitasking, this guide walks you through every step of the process.
Our team has explored and tested the most effective configurations and tools available in 2025 to help you confidently build your own gaming computer setup. With the right components and a clear plan, your dream gaming rig is within reach.
Pro Tip:
Before purchasing components, plan your build using a PC part compatibility tool like PCPartPicker. This ensures all your parts work together and helps prevent expensive mistakes.
Quick Guide: What You Need
- Define Your Goals: Identify what games and resolutions you plan to play at—1080p, 1440p, or 4K. This will determine your GPU and CPU requirements.
- Gather Core Components:
- CPU (Central Processing Unit)
- GPU (Graphics Processing Unit)
- Motherboard
- RAM (Memory)
- Storage (SSD or HDD)
- Power Supply Unit (PSU)
- PC Case
- Cooling solution (air or liquid)
- Assemble with Care: Organize your tools and follow an anti-static procedure. Connect all components step by step.
- Install Software: Load your operating system (typically Windows), install drivers, and update BIOS if necessary.
Important:
Handle all components with care and ground yourself before starting to avoid static damage. Always double-check part compatibility and orientation during installation—forcing parts can result in permanent damage to your hardware.
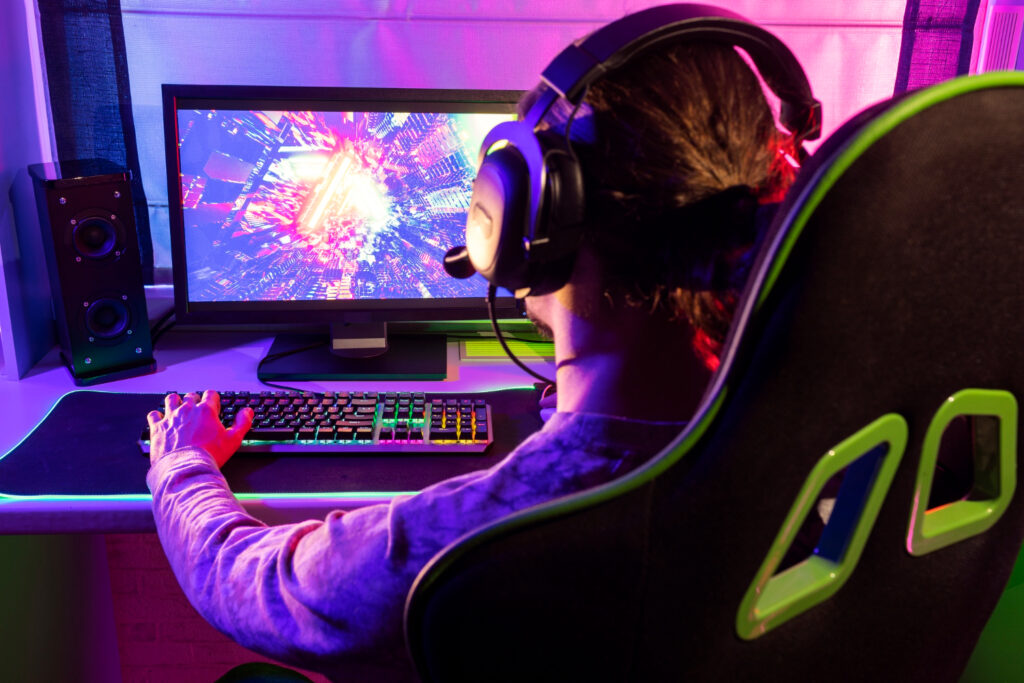
Why Build a Custom Gaming PC
A custom gaming laptop/ PC offers numerous advantages over prebuilt systems. The flexibility to choose each component allows you to optimise for performance, budget, and aesthetics. Whether you’re building for esports, AAA titles, or content creation, custom builds offer:
- Better value and performance
- Improved upgradeability
- Personalised design and cooling
- Greater control over quality and compatibility
Unlike factory-assembled machines, a custom setup reflects your preferences and grows with your needs.
Component Selection Breakdown
CPU (Processor)
Choose a processor that matches your performance goals. AMD Ryzen and Intel Core are the top contenders.
- AMD Ryzen 5/7 or Intel Core i5/i7 for gaming and multitasking
- Consider CPUs with high clock speeds and multi-core performance if you plan to stream or create content
GPU (Graphics Card)
The most critical component for gaming performance.
- NVIDIA GeForce RTX and AMD Radeon RX series dominate the market
- Select a GPU with sufficient VRAM for your resolution and desired frame rates
- For 1440p or higher, aim for 8GB VRAM minimum
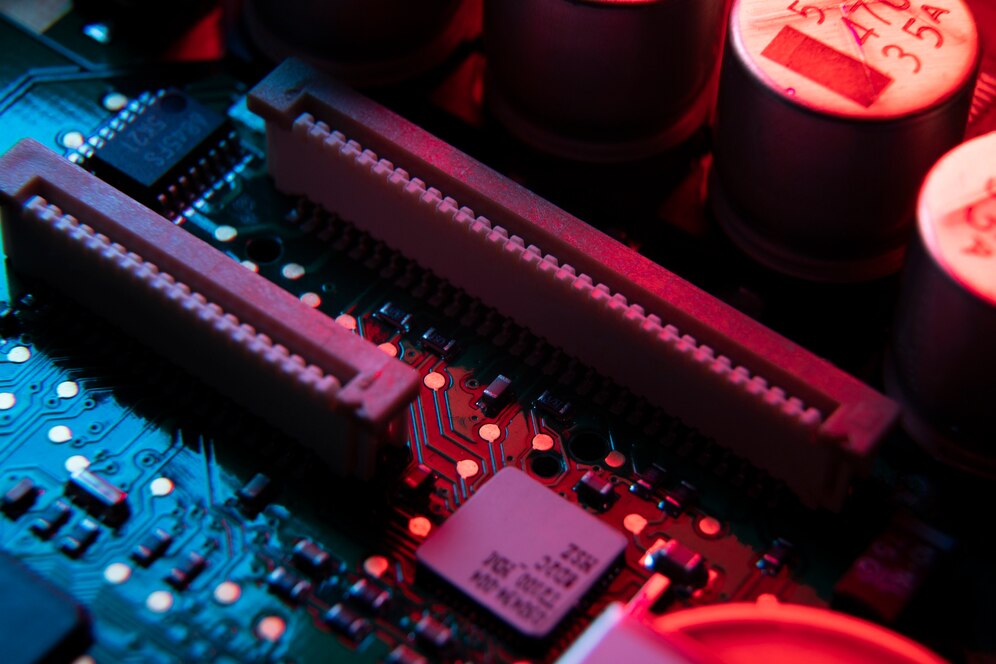
Motherboard
Ensure compatibility with your CPU (socket type) and RAM. Also, check for features like Wi-Fi, Bluetooth, and support for PCIe 4.0 or 5.0.
- ATX for full-size cases, Micro-ATX or Mini-ITX for compact builds
- Popular chipsets: B550, X570 (AMD); B760, Z790 (Intel)
RAM (Memory)
- Minimum: 16GB DDR4 or DDR5
- Recommended: 32GB
Choose RAM with fast clock speeds (3200 MHz or higher). Dual-channel kits are preferable for performance
Storage
- NVMe SSDs offer the fastest load times
- SATA SSDs are budget-friendly and reliable
- Use HDDs only for archival or backup storage
Recommended configuration:
- 500GB+ NVMe SSD for OS and games
- 1TB+ HDD for additional storage
Power Supply (PSU)
An often overlooked but essential component.
- 80+ Bronze certification or higher
- Wattage is typically 550W–750W for gaming PCs
- Modular PSUs improve cable management
Case and Cooling
Choose a case that supports your components and provides good airflow.
- Front and top vents enhance thermal performance
- Air cooling is sufficient for most users; liquid cooling is recommended for overclocking or aesthetics
Step-by-Step Assembly Guide
- Prepare your workspace and tools
- Install CPU and RAM on the motherboard
- Mount the motherboard inside the case
- Install storage devices
- Mount the power supply
- Install the GPU
- Connect all power and data cables
- Double-check all connections and cable routing
- Power on and enter BIOS for setup
Optimising Your Gaming PC
After assembly, optimise your system with the following:
- Enable XMP in BIOS for RAM speed
- Install the latest GPU drivers and chipset drivers
- Benchmark your system using 3DMark or Cinebench
- Monitor temperatures and adjust fan curves if needed
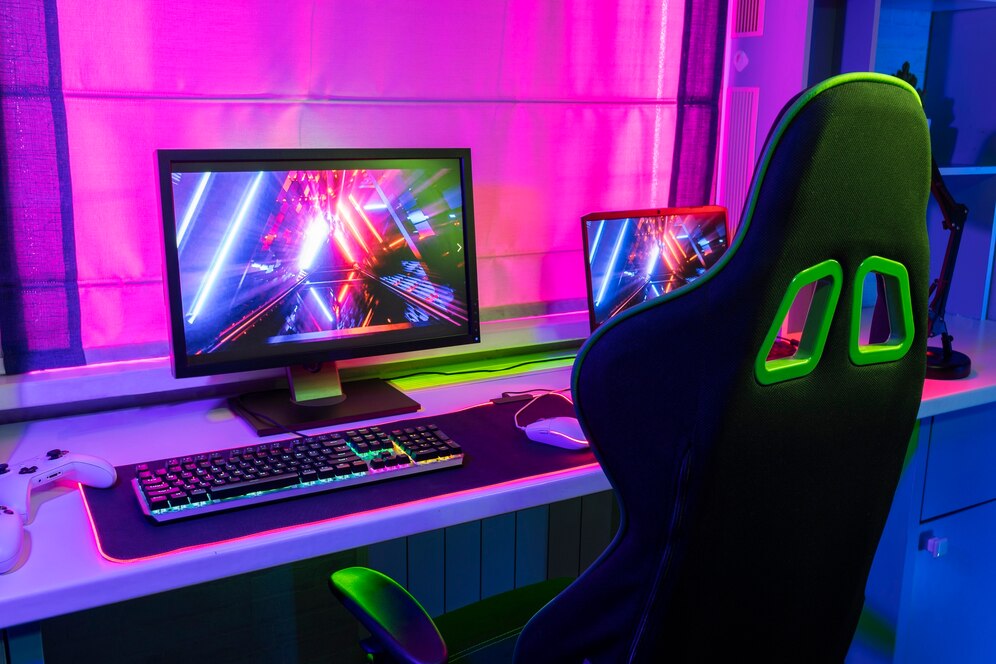
Essential Accessories for a Gaming Setup
To complete your gaming computer setup, consider:
- High refresh rate monitor (144Hz or more)
- Mechanical keyboard and gaming mouse
- Wired or wireless gaming headset
- Ergonomic chair and adjustable desk
- Quality mousepad and cable management tools
Tips for Budget-Friendly Builds
You don’t need top-tier parts to enjoy great performance. Some strategies to save:
- Use previous-gen components like RTX 30-series or Ryzen 5000 series
- Shop during sales or consider open-box/refurbished deals
- Start with minimum specs and upgrade later (e.g., 16GB RAM, then expand)
Frequently Asked Questions
- Is building a PC difficult for beginners?
Not at all. With guides, video tutorials, and labelled components, building a PC is very approachable—even for first-timers.
- How long does it take to build a gaming PC?
A first-time builder can expect to spend 2–4 hours assembling, setting up, and installing software.
- Can I upgrade parts later?
Yes. Most components like the GPU, RAM, and storage are easily upgradeable in custom-built systems.
- Do I need to overclock?
Overclocking is optional and not necessary for most users. Many modern components offer great performance at stock speeds.
Final Thoughts: Bringing Your Custom Gaming PC to Life
Building a custom gaming PC is an incredibly rewarding experience. It empowers you to understand your hardware, optimise your gaming style, and create a future-proof system that can evolve over time. With the right planning and guidance, anyone can build a gaming computer that delivers performance, personalisation, and satisfaction.
Whether you’re a competitive gamer or a casual enthusiast, this guide gives you the tools and insights to get started with confidence.


YOU MAY LIKE